Git beginner level ( Covering git on local repository only)
(my understanding)


Table of contents
- What is Git ?
- Working of Git
- How to use Git
- Git Commands
- A) Creation of Local Repository (1st Step) (all unknown words meaning given below :)
- B) Creation and Editing of Files in Bash itself (Not necessary just to know some basics, bz U already got the contents of project)
- C) Wedding place (Unstaged, Staged, Committed Phase)
- Stash (Backstage in wedding function)
- D) Branch , Creation and switching of branches.
What is Git ?
Imagine you are playing a game (story mode), where you will be clearing some missions, smashing some enemies and all, after completing each small mission, you get a checkpoint, so that while entering into next mission, at mid part if you die, your character gets regenerated at that specific last checkpoint. Or else you leave in the mid of the game as your mom called to eat, now after restarting game you find yourself staring at the checkpoint.
In software development, for example, if you take an app, there will be updates regularly after a certain period of time, and with each update, the bugs are fixed from the previous updates. These UPDATES are called 'VERSIONS'.
The Checkpoints in games are same as versions in the software, and there is a version control system, which manages the creation and overall management of versions, and here comes the "GIT".
GIT is a version control system, technically it is a software which should be installed on OS (windows, mac, etc) in order to use it.
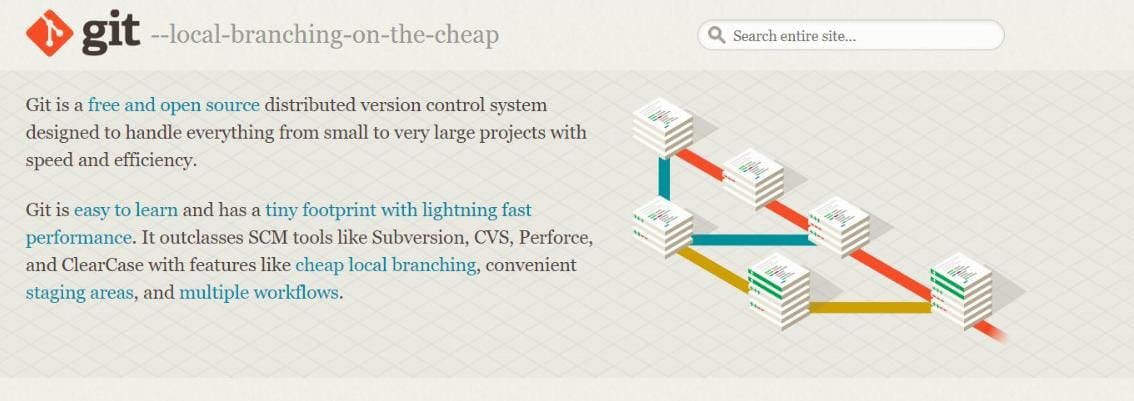
In above, image you may see some new words like branching, staging area and all. Soon they will be explained by me.
Working of Git
Now, you know what is Git, it is a version control system for softwares in their development. But why exactly we are using versions?
As i said already, while developing any software such as website, app, anything, while doing it we will be saving right, in order to use it again. So that we can start developing from where we left. Actually saving itself is like a checkpoint, so like that, for example, you are creating an Calculator app, at first you write code for basic calculations (+, - , * , /), and you save it as a version using GIT, then you develop further in order to provide more functionalities like adding scientific calculations(log, mod, %), while doing these you encounter an error, and cant able to fix it and this error somehow causes the basic calculator functionalites too.
Now, you may think, if only i could go back to the time where the basic calculation was working fine (like time travel) --> this is the scenario before using GIT.
But, as you are using GIT now, you can just go to that first save you made by using some commands on git bash. (which is like a command prompt on windows , but UNIX based.)
So, now you go back and write again the code or even store the bug containing code in some other area and use it if needed. By the way, the save we make to make versions are called as COMMIT.
How to use Git
So, basically do the installation of Git on your system OS.
Open git bash on windows. (I am windows user)
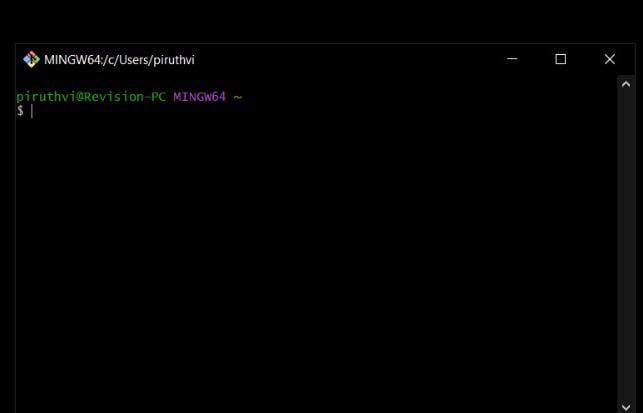
Provide the following commands in order to start.
Git Commands
A) Creation of Local Repository (1st Step) (all unknown words meaning given below :)
cd desktop
-> cd is "change directory" (which means changing route of the bash to tell where to monitor.)
-> U can change to anything, i am using desktop.mkdir sample
-> mkdir is "make directory" , to create a folder to store your git repository.
Here, sample is the name of my folder inside desktop.
-> Repository is the folder, it contains all the contents of the project or software, and the history of commits made while developing the project.cd sample
-> then cd to the created repo ( folder). to monitor and make changes inside the Repository.
-> Here, still it is folder only, to make the folder as a repository which is local, the below command is used.git init
-> Initializes the local git repository.
-> After this command only , the folder is officially converted to git repository, how you can ask?
Because after this cmd, the folder will create a hidden folder named ".git", which contains all the metadata required to use git repo.
-> Now you can able to use git features as the repo is created.
repo is nothing but repository. (for my simple use).As you can see, it tells it initialized empty git repo.
-> Now, and go and see the repo, inside .git folder will be there, if not ,it may be hidden, search on net and see, how to show hidden files and get the .git meta folder.
-> Then, open it and you will see some folders. Which will be uncovered and understood by you soon. These are the files inside .git folder.
-> Now, you have officially created the local git repo, why local though?
Because, this repository is locally available in your local system.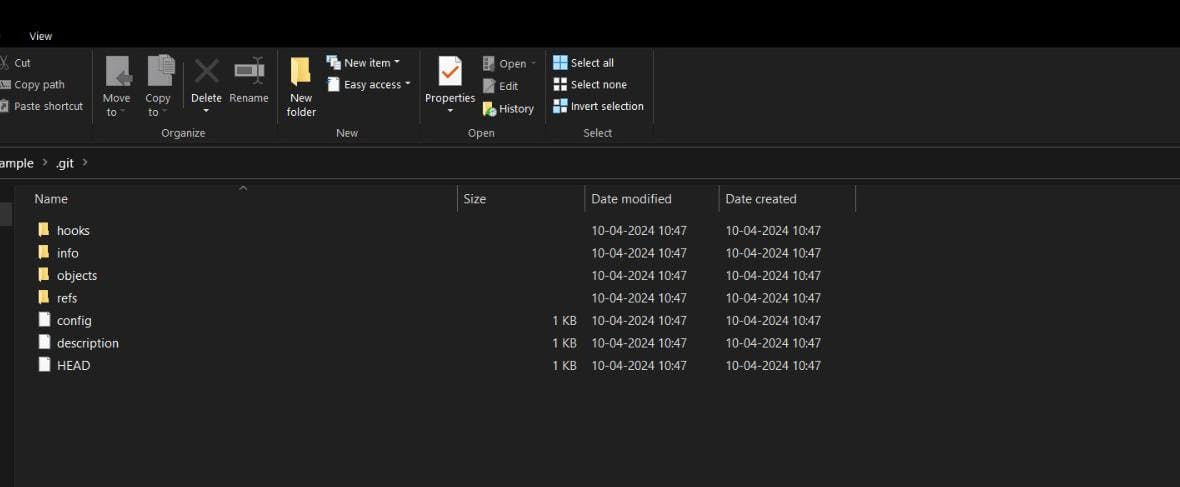
B) Creation and Editing of Files in Bash itself (Not necessary just to know some basics, bz U already got the contents of project)
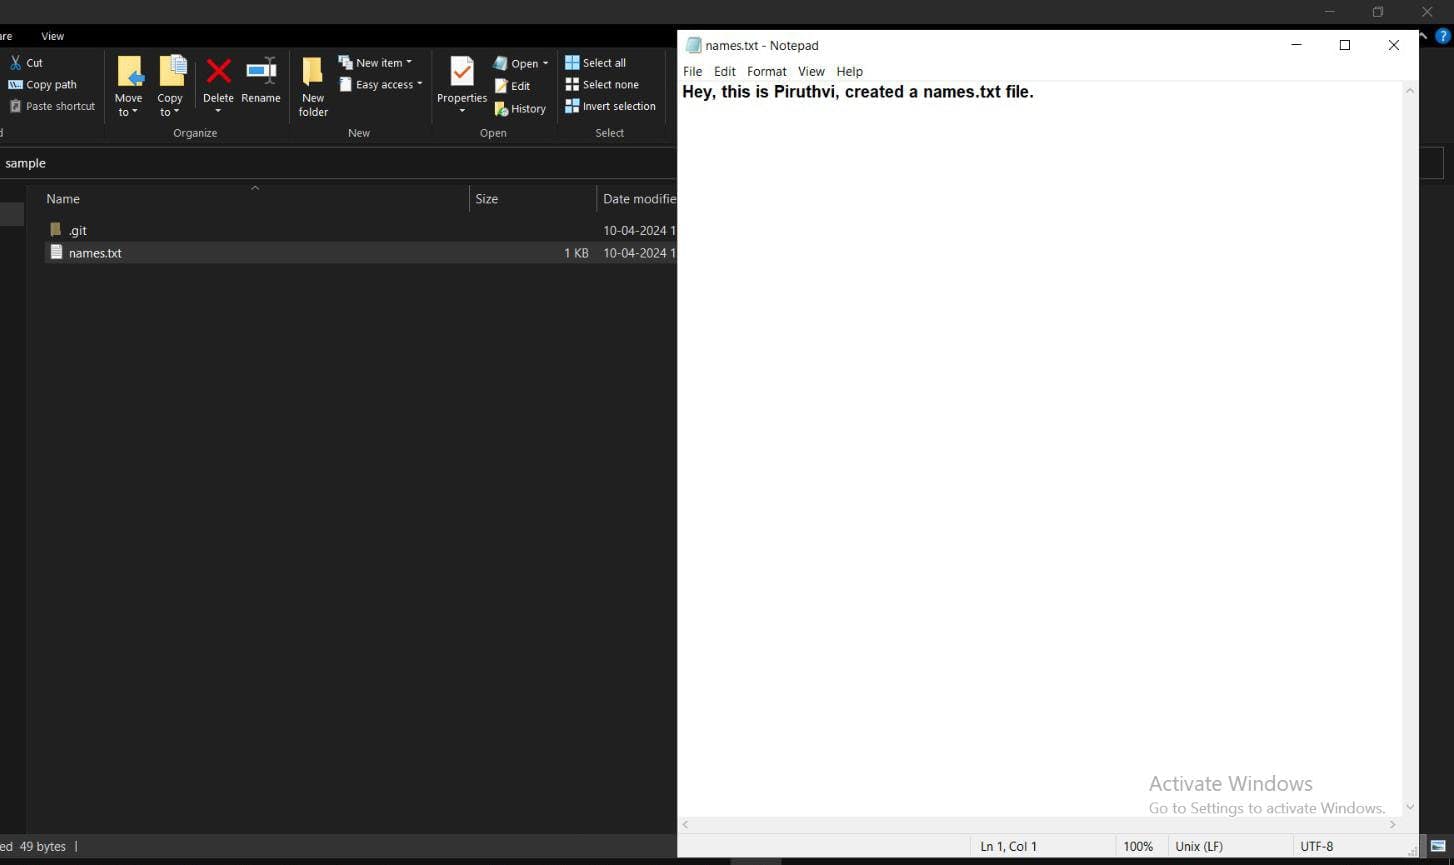
touch names.txt
-> this in bash, will sow nothing and goes to nxt cmdline, but inside repo, names.txt file will be created.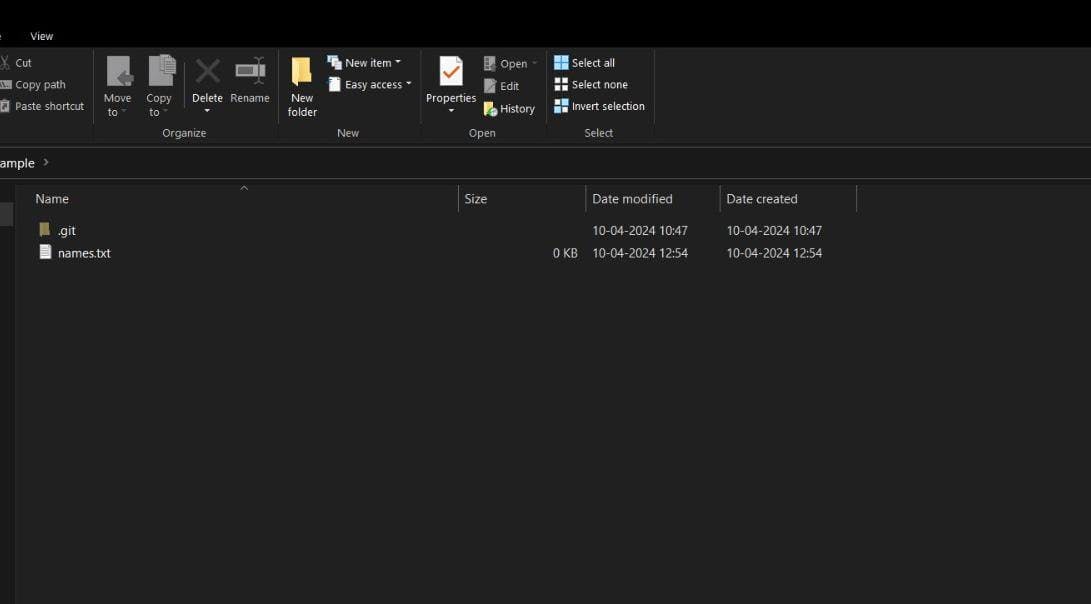
vim names.txt
-> this cmd, opens an editor in bash itself.
-> here you can edit the file, like inserting some text. Why i use the word Insert, because to write something inside file, you need to press "i", in your keyboard, which starts insertion mode.
-> After you press "i" , at bottom a --INSERT-- prompt appears, which says you are in i mode.
-> Then, edit the file, and it still running in insertion mode, so How do I Save and come out of insertion?
-> For that press ESC button, which exits Insertion (i) mode, and if you notice, the cursor will be at bottom of editor.Here, comes the lines of different character combinations to use in order to save file in different ways:
a) :wq - for save and exit.
b) :w - for save only. (will not exit.) (if it is a long file, then to save at mid time, use this and again go i mode.)
c) :q - just exits an unsaved file.
-> Now, if you check the file inside repo, it has the updated txt file.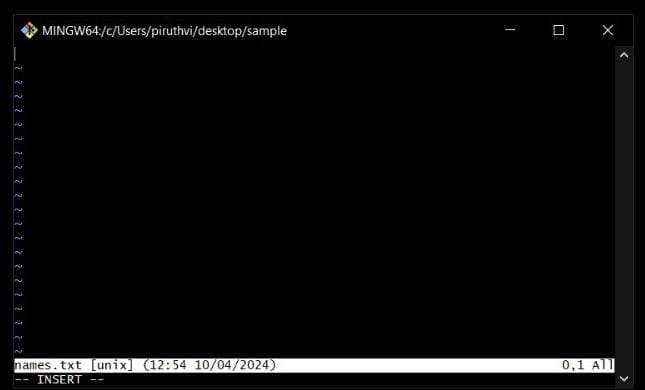

C) Wedding place (Unstaged, Staged, Committed Phase)
again, my mentions to Kunal Kushwaha , he gave this example idea.
-> So, Imagine a wedding function, where the couples will be on stage, and
guests will be on hall which is said as unstaged (not on stage), and
those on stage (guests other than couples) will get a photo (snapshot) in order to save.
-> Our process to make a commit in order to store it as a version in history is also similar to the wedding example.
-> At first, the newly created files and any changes made to the files (like adding new text, new line of code, deletion, updating code) will be in unstaged mode. (like guests standing in place other than stage)
-> Then, we must stage them and inorder to commit, like in wedding guests must enter the stage inorder to take photo with couples, so that photo can be saved in album( album is the history of commits, and snapshot or photo is the commit.)
So, the process of making commit goes from:
Unstaged -> Staged -> Commit
Commands to do it are:
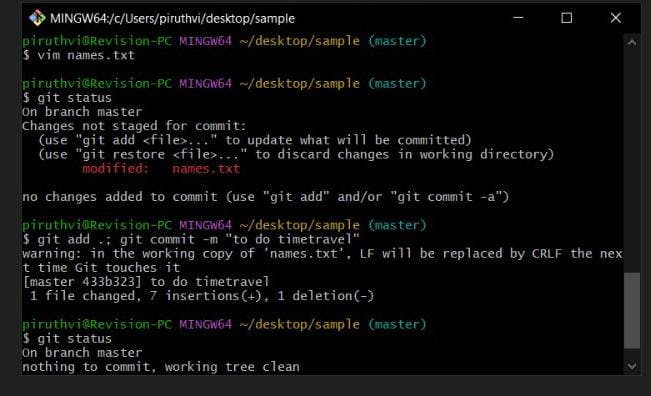
git status
This cmd , is to view the status of git.
it shows :
a) which files are in which stage, like untracked or unstaged , staged (yet to be committed) and commited. ( working tree clean on branch master)in below diagram, it shows that untracked files and shows name of file (names.txt), which means it is untracked and unstaged.
so it must be tracked or staged and then it must be committed.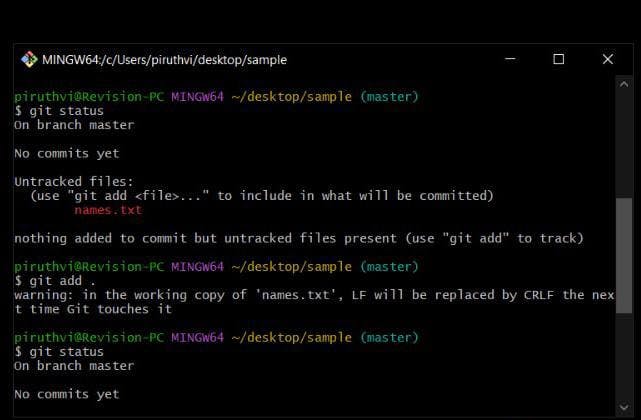
git add . (or) git add names.txt
-> The above cmd, adds the unstaged files to the staged area, (git add .) adds all files in unstaged phase to staged, and (git add "filename") adds that specific file to the staged. (the red prompt of file name will be turned to green)
-> It is your preference to do it, if you want some extra changes to be made for a file, then you can keep it unstaged itself, but in order to git to track your files, it must be added.git status (Again to check if the files are staged)
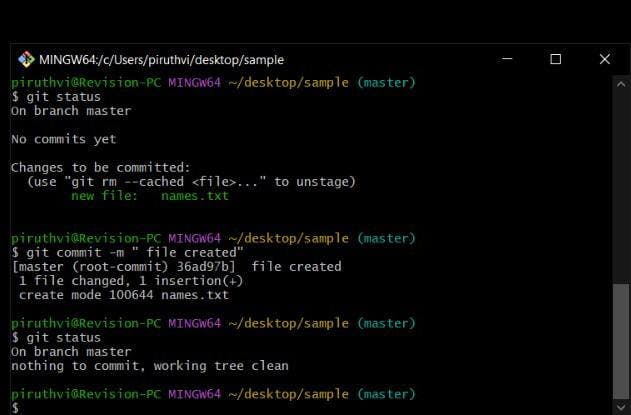
git commit -m " " (inside quotes , you need to mention commit msg)
-> After again checking status of git, you see that there are no unstaged files and all are staged, so you must use this command with commit msg in quotes , to take photo of the guests or save the changes made to files in history of commit.(album)git status (to check if files are commited)
-> Here, you see that it says, on branch master, nothing to commit, and working tree clean.git log
-> So, at last after checking git status, it says nothing to commit, (soon, tree and branch part will be explained), you can do it yourself and even view the above image to check.
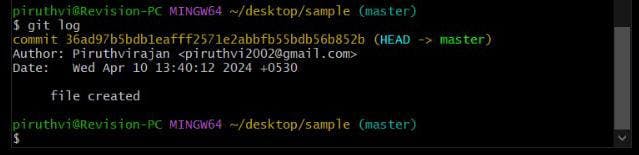
-> Now, commit made is in it's history, And to view the history of commits, we use git log.
-> It shows the commits made with hash id's at top in yellow color, and it's commit msg below each of it's commit.
-> It also shows the Author, Date and timing info on which the particular commit is created, and in top it also shows some unknown info like (HASH -> master).
-> Soon, those unknown info will be explained as it comes under Branch topic.
-> The hash Id here in image is : 36ad97b5bdb1eafff2571e2abbfb55bdb56b852bThe one you see on paranthesis beside directory is called Branch. (master)
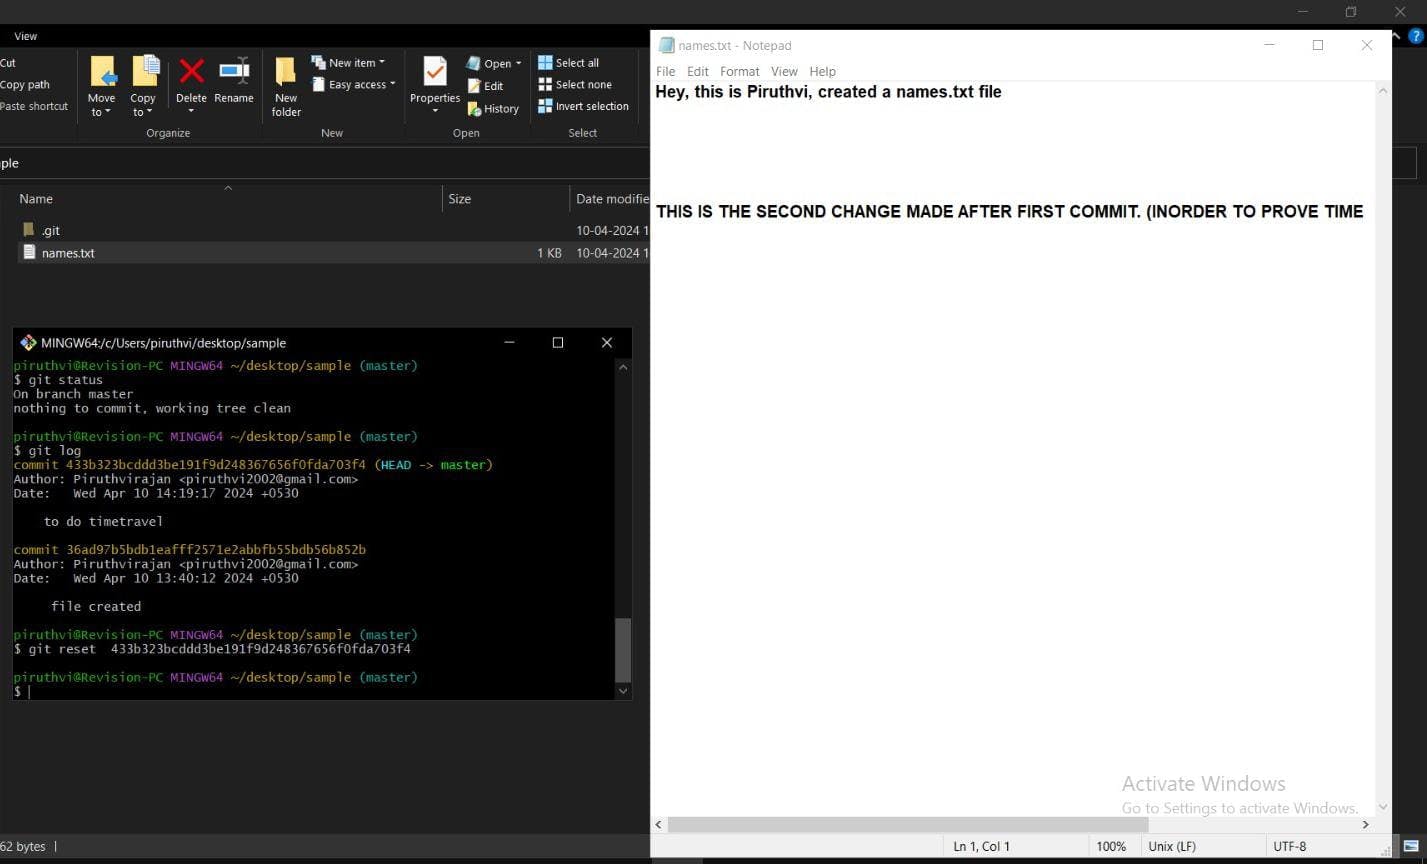
git reset 36ad97b5bdb1eafff2571e2abbfb55bdb56b852b (instead of this number provide your hashid of particular commit you want to reset or time travel to.)
So, git reset is the command which is like time travel, as i said in the start of the blog, where i can able to correct the errors, I made after the checkpoint(commit) I created. (Like literally, I can rewrite the story. (LOKI reference :))
-> To show this i need to make some additional commits, in order to return to the first commit..) Before adding additional commit.
.) Added some changes and commited the same file.
.) This is the added Change that is committed.
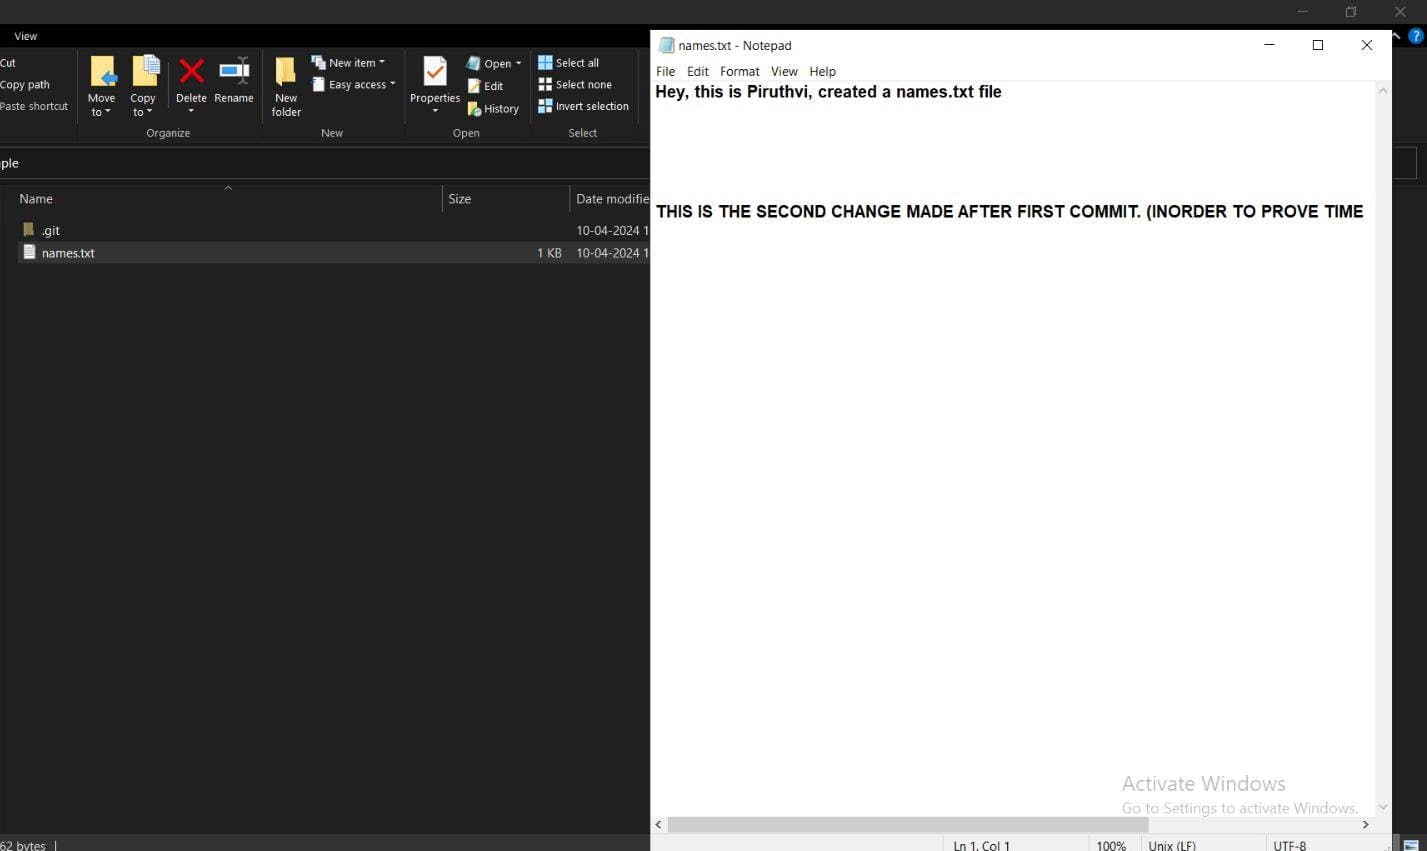
Now, using git reset "hashid of first commit" (by mistake used 2nd commit, but even if you use the 1st commit's hash id, nothing happens on working directory.)
The Reason is :
-> using just git reset without --hard , updates only the HEAD to the hashid's commit in branch.
-> So, the commits made after the resetted commit will be stored in unstaged area, as a safety measure and we can use it again, if we need it again just by committing it.
-> The working directory will not be changed, which is the output we see by opening files on folder by manually going.
-> So, if u go to the folder, you will see the after changes made even after resetting.
what is branch ?
-> Imagine git as a tree, a tree has branches and leaves. The leaves are the commits we make, and a tree has the main stem(body) and it is also considered as the branch which is called master or main. (master is called previously, sometimes even now.)
-> so from the main branch, we can able to create additional branches and store commits to it. Why you may ask?
Because, the main branch always contains the correct , non -error, working files and the complete files which is when executed it works as a perfectly functional software.
-> But these additional branches are to test the commits we make, so that it will not cause any harm to the main or master branch, and can be worked on software alone. More on branch later...
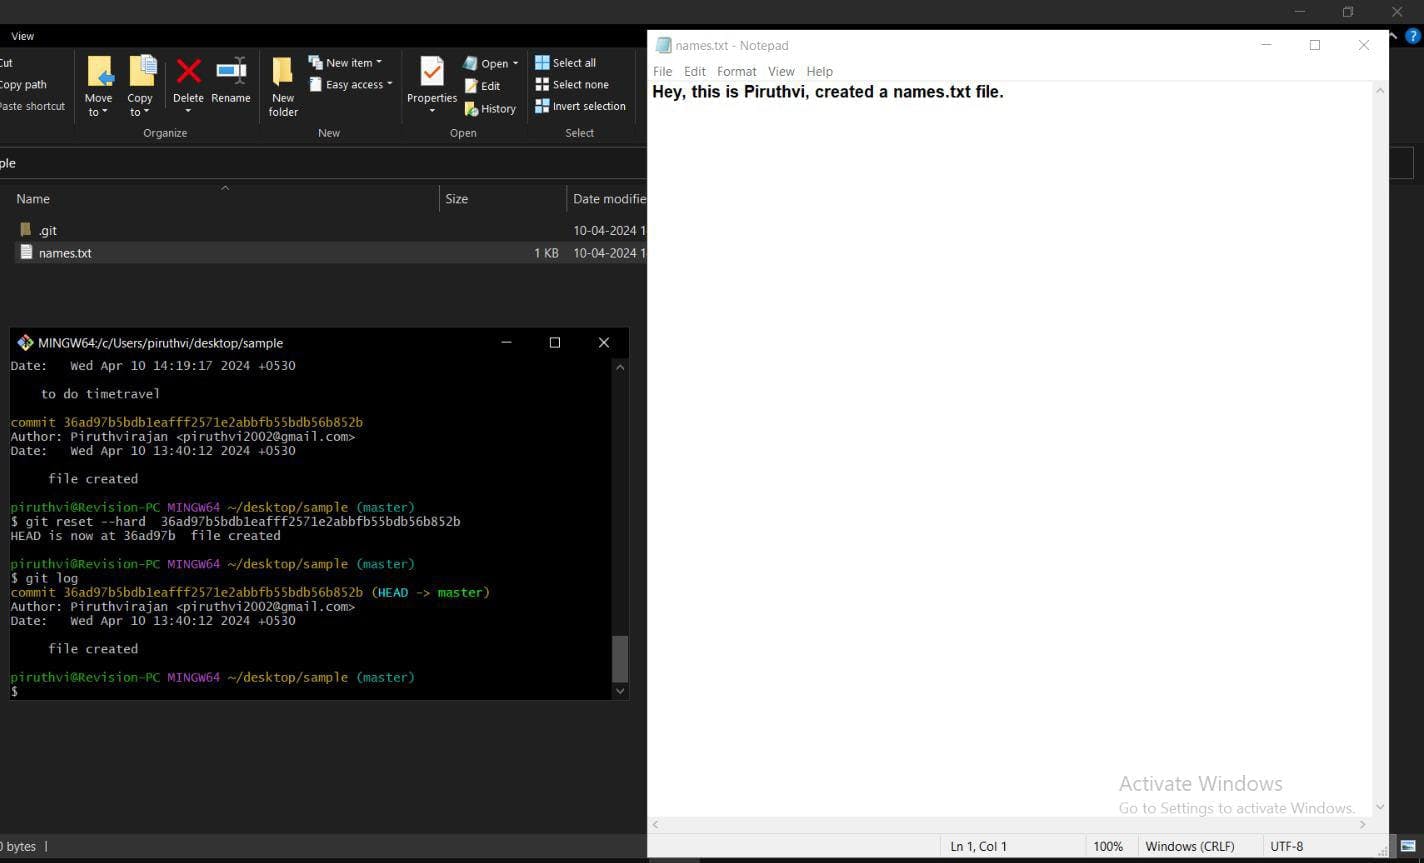
-> So, this is where hard reset kicks in...
Using git reset --hard "hash id of 1st commit" (Real time travel happens)
-> Here, the real time travel happens, the working directory also updates as the unstaged after commits are deleted or removed and the both HEAD and working directory is in the reseted commit on the master branch.
What is HEAD?
-> It is the pointer on the tree which will be pointing on a branch , here it is master, particularly on a commit mostly latest one made.
-> It says, wherever the pointer is pointing, it is where the upcoming commits from users are updated.
-> Suppose if I create a new branch called "baby" (soon told), the tree shows and splits into 2 branches (one is main or master and other is baby.)
-> Now i need to switch the branch, after switching, the HEAD will be pointed on the last commit of baby branch. (Basically, if a branch is created, it creates all the files and commits made in main branch until the creation of branch baby, will be stored in baby branch.)
So now, the commits I am gonna make will be stored in the baby branch, as HEAD is pointed on last commit of baby branch.
The below image is the output after using hard reset.
Suppose, you don't need to delete the unstaged and staged change and do time travel, instead want to store it somewhere, and at the same time, you need to get both HEAD and working directory to the reset commit, Then we use the stash (which is Backstage).
Stash (Backstage in wedding function)
git stash (after git reset not hard reset)
this command should be used after using git reset, not git reset --hard.Because, as I said git reset, get the after commits after resetted commit will be in unstaged area , so these changes must be deleted using hard reset inorder to get working directory to reset commit.
But there maybe situation, where you need to save the change, and also point working directory to reset commit, and that's why we use stash.By using git stash, it gets all the changes on unstaged and staged area to the backstage, (like literally guests on stage will be taken to backstage as they are not gonna take the photoshoot for the guys on stage.)
So, that by doing this , no after commits are deleted instead they are stored in temporary memory (backstage) and at same time working directory also points at resetted commit, and if user needs the stashed changes, they can use following commands:git stash pop (to get back stashed changes back to unstaged and staged area)
git stash clear
If we dont need the stashed changes as we made new changes, (maybe), if situation arises to delete the stashed changes, we use this command.D) Branch , Creation and switching of branches.
git branch baby (instead of baby any name can be given as a branch name)
-> By typing this, we create a branch called baby, but still HEAD is pointed on master branch.
-> To change that, we need to switch branch.git branch
This checks and shows what are the branches available.
And to know where the HEAD is pointed, a star icon (*) will be on side of the branch which has the HEAD pointer.git checkout baby (replace baby with the branch name to be switched)
the main thing is before switching you need to create branch first, and incase if you dont know what are the branches available, then you can check with 12th step (git branch).Now you can able to make the commits on this baby branch,and incase if you need to merge the commits made on this branch to the master branch you can do it with these steps:
1) First, switch to the branch where you need to store the new commits, in this case master.
2) Then, use git merge baby , this will merge the new changes made to the master branch.So, these are the things I learnt in git, and remember this is only using git operations on local repository, this is the first half of my learnings.
Hope you like it, and feel free to correct me if I had made any mistake on comments. So this is my first Blog on my Learning on Git.
Thank you for taking the time to read my blog post. I hope you found it informative and enjoyable. Feel free to like the blog and subscribe to my newsletter to receive my upcoming blogs right on your mail.
See You guys on my next Blog... :)